
This article is about my project of taking a HP T5740 thin client with a 2GB IDE DOM flash and 2GB ram, and converting it into a stand alone Linux computer with an optional HP expansion case, Wi-Fi and SSD drive.
The project starts with a T5740 thin client purchased off eBay, the unit came with a power supply and was fitted with 2GB ram and a 2GB IDE DOM module. The expansion case was purchased from Amazon.
The reason I wanted to convert this unit was to use it as an NVR (Network Video Recorder) for my front door camera. It had to be fanless and silent, and excellent on power. The T5740 features an Intel Atom N280 1.6GHz 32 Bit processor and is capable of Wi-Fi when fitted. It also features an on-board SATA drive port, though only supplying 5V which makes a SSD the perfect choice.
A 500GB Western Digital WD Blue SSD was fitted to allow ample video storage
So here goes:
Firstly, before I commenced, I ensured the BIOS was up to date from the HP website, which is important for Ubuntu to go on smoothly.
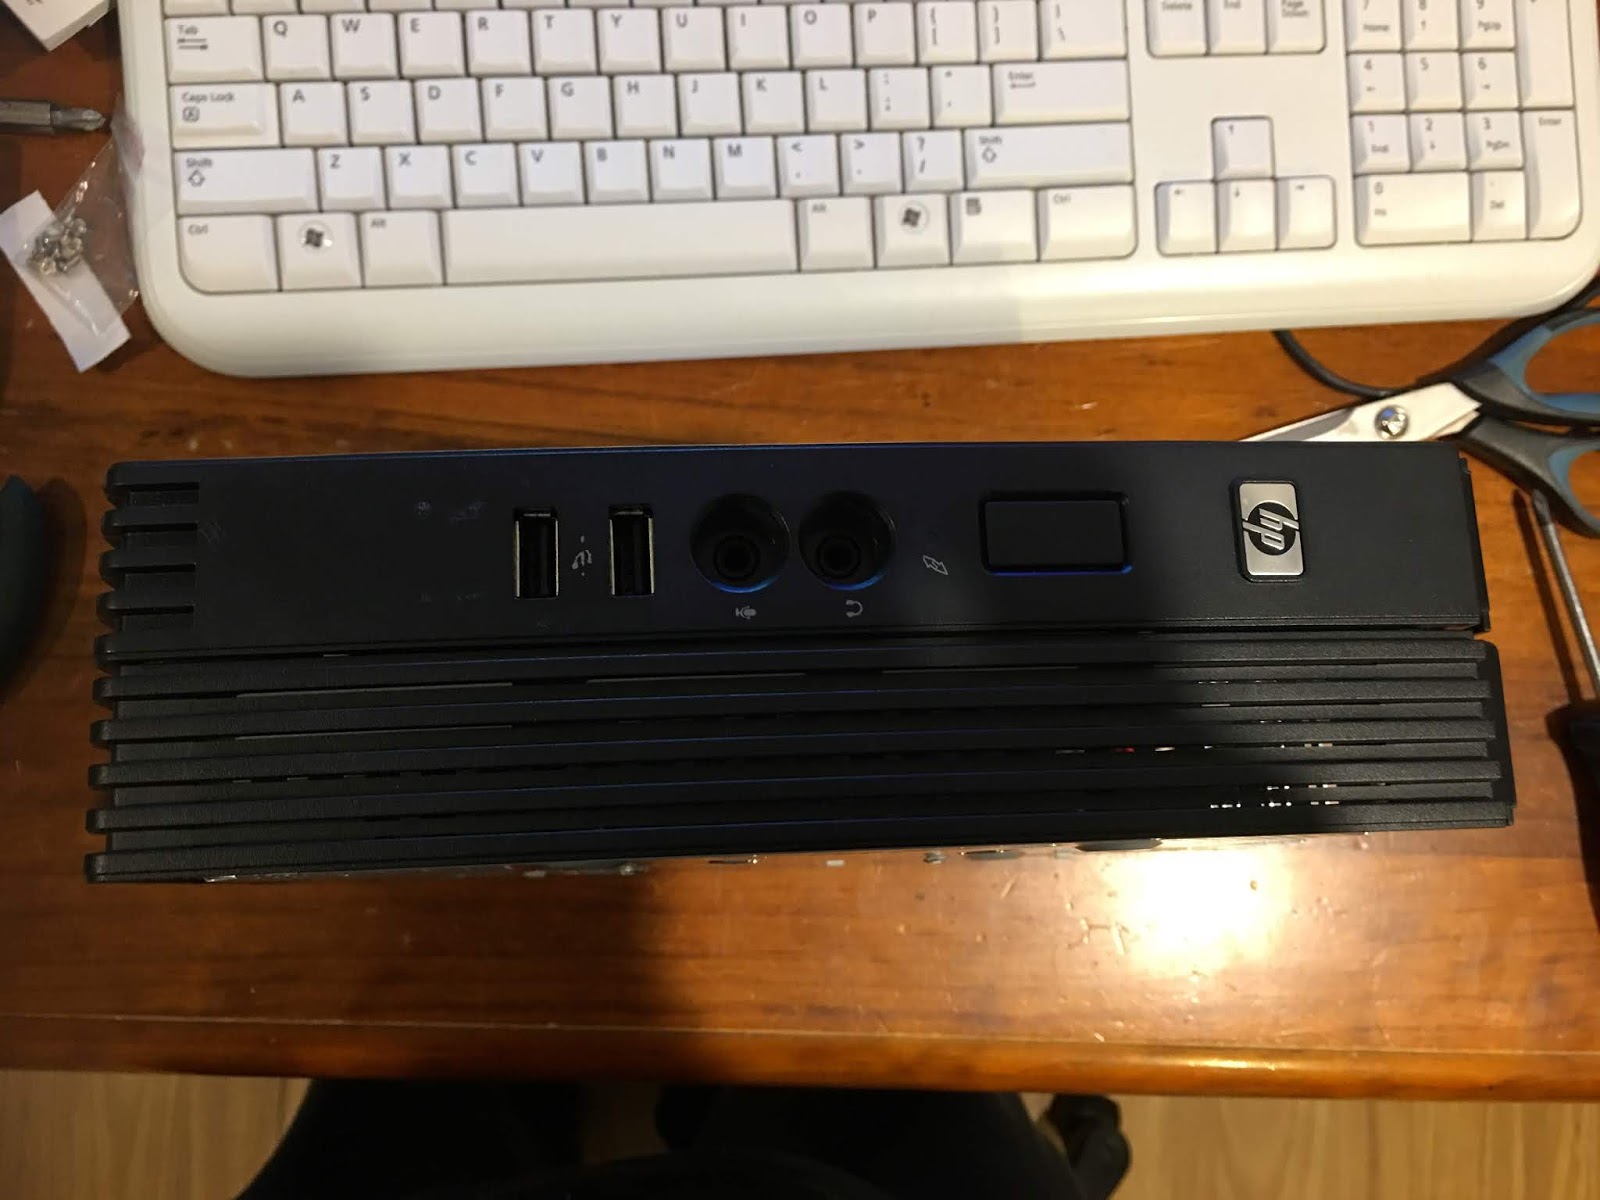
I removed the screws and took off the top USB compartment cover, and both side covers.

On the back, remove the metal ram cover. The ram slot on a standard unit may or may not be empty. I fitted a 2GB Luosilk PC-10600 so-dimm module to this slot. Reinstall the ram cover.


On the inside, remove the IDE DOM by pulling it upwards and out, using pliers to release the board clip.
The first new item I fitted was the Broadcom Wi-Fi / Bluetooth combo card. This slides into the Mini PCI-e slot and clicks down.

I installed the Wi-Fi antenna fly lead into the back of the chassis. It is a RP-SMA connection and pokes through the chassis and has a nut that does up on the other side. It plugs into the Wi-Fi card into the MAIN socket.

Now I installed a further 2GB of ram, giving the system 4GB in total. This is as much as a 32 bit processor core will directly access.

Next is the SSD connection, and this plugs into the on-board SATA port. A right-angle SATA connector was needed. In this case, the right hand side of the adaptor required trimming with a knife so it would clear the black expansion port (which is not being used so clearance is a non issue).

Plugging in a SATA extension lead to the right angle adaptor was next. This is needed to run through to the expansion case.

Ok, now the expansion case was ready to be prepared. As standard, there is a PCI card, fan and serial ports included. None of this is being used in my case so it was all removed.


The SSD was mounted in the expansion case using a 2.5” to 3.5” dual slot adapter, which is pop riveted to the expansion case. This needs the removal of a couple of mounting lugs (which were removed with pliers). As you can see the drive tray fits nicely.

The SSD was screwed in ready for cabling.

Back to the main unit, I fed the SATA cable through the original outer panel. Once done, the panel screws back down.

The SATA cable was then attached to the SSD and folded in nicely to the expansion case ready for assembly.

The expansion case has built in captive screws, so you just bring the original case and expansion case together and screw down.

All outer skin panels were reassembled and the new double top USB cover that comes with the expansion case fitted.
No leftover parts (YAY!)
Next was OS installation.
My OS install consisted of installing Xubuntu 18.04 LTS 32 Bit edition. This was installed from a bootable USB drive.
The install took about 20 minutes and went smoothly with no errors, and recognised all hardware.
I was sure to tick the box “Download all third party drivers and software” which meant that the Wi-Fi card worked first time.
The now fat client was set-up with ZoneMinder NVR package for Linux. This will be covered in another article.
The unit performs well for its specification and is totally silent with the SSD, and gives off next to no heat even at 100% load testing.